
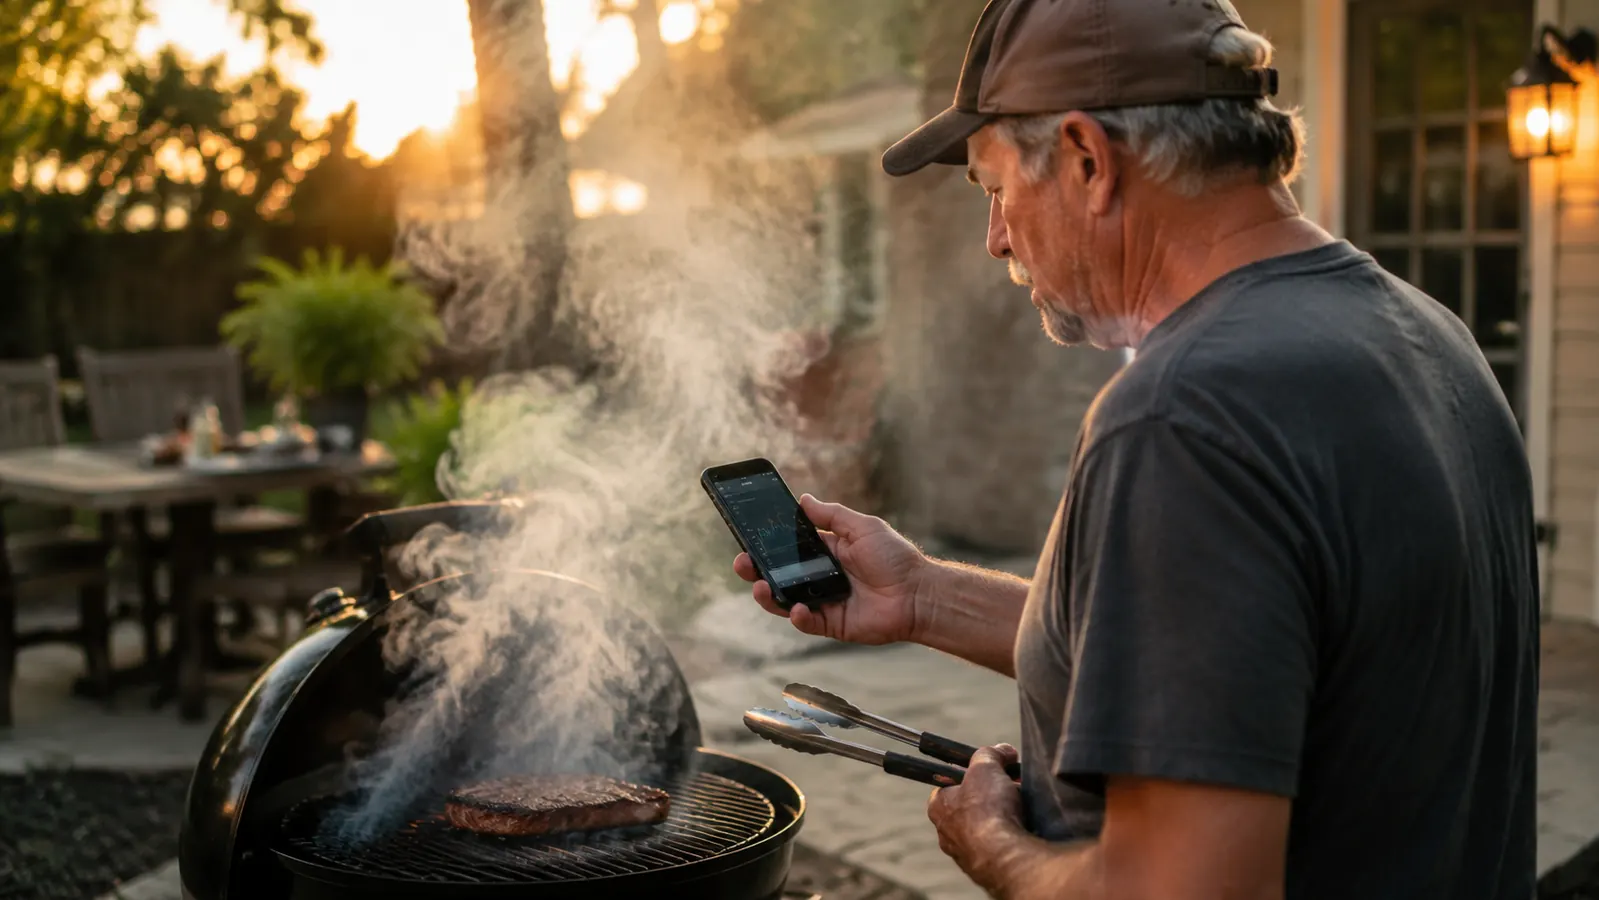
I ruined more chicken breasts than I care to admit before I finally admitted the problem wasn't my grill, it was my guessing. I'd poke the meat, press it with my finger, cut into it early to check, and half the time I still got it wrong. Either the chicken came off rubbery and dry, or a thick pork chop looked done on the outside and was still pink and cool in the middle. My wife Diane stopped asking if dinner was ready on time because she genuinely didn't know if I'd have to start over.
What changed everything for me was switching to a wireless meat thermometer, specifically the MEATER Plus. Once I started using one the right way, I stopped cutting into meat to check it, stopped hovering over the grill, and started pulling steaks, chicken and pork exactly when I wanted them, not whenever I got nervous enough to check. This guide walks through the exact five-step method I use every time I fire up the Pit Boss or the kettle, so you can go from guessing to knowing, cook after cook, without any of it feeling like luck.
This isn't a theory I picked up from a manual. It's the routine I've settled into after three grilling seasons of using this thermometer on everything from a quick Tuesday chicken breast to a Sunday pork shoulder that runs most of the day. The steps are the same whether I'm running the Pit Boss low and slow or working the kettle hot and fast for steaks, and that consistency is really the whole point.
Stop cutting into your meat to check it
The MEATER Plus is the wireless thermometer I reach for on nearly every cook, from a quick weeknight chicken breast to an all-day pork shoulder. No wires running to a box, just a probe, an app, and a real pull temp you can trust.
Amazon Check Today's Price on Amazon →Step 1: Set Your Target Pull Temp Before You Light the Fire
The single biggest mistake I made for years was deciding what temp I wanted the meat to be after I'd already thrown it on the grill. That's backwards. Before I even turn a knob or dump pellets in the hopper, I open the MEATER app and pick the cut and doneness I'm going after, a medium-rare ribeye, a 165°F chicken breast, a pulled pork shoulder at 203°F. The app has presets for most common cuts, and you can set a custom target if you're working with something specific, like a thick-cut pork chop or a whole spatchcocked chicken.
Setting the target first does two things. It forces you to actually decide what you're cooking toward instead of eyeballing it later, and it lets the app start counting down an estimated time before you've even started, which helps you plan the rest of the meal around it. I tell Diane roughly when we're eating based on that estimate, and it's been right often enough that she's stopped double checking me.
This step also keeps you honest about the difference between doneness and safety. The USDA minimum for ground beef is different from a whole muscle steak, and poultry has its own number entirely. Picking the preset that matches what's actually on the grill, not just what you think sounds close, is what makes every step after this one actually mean something.
Step 2: Place the Probe in the Thickest Part, Away From Bone and Fat
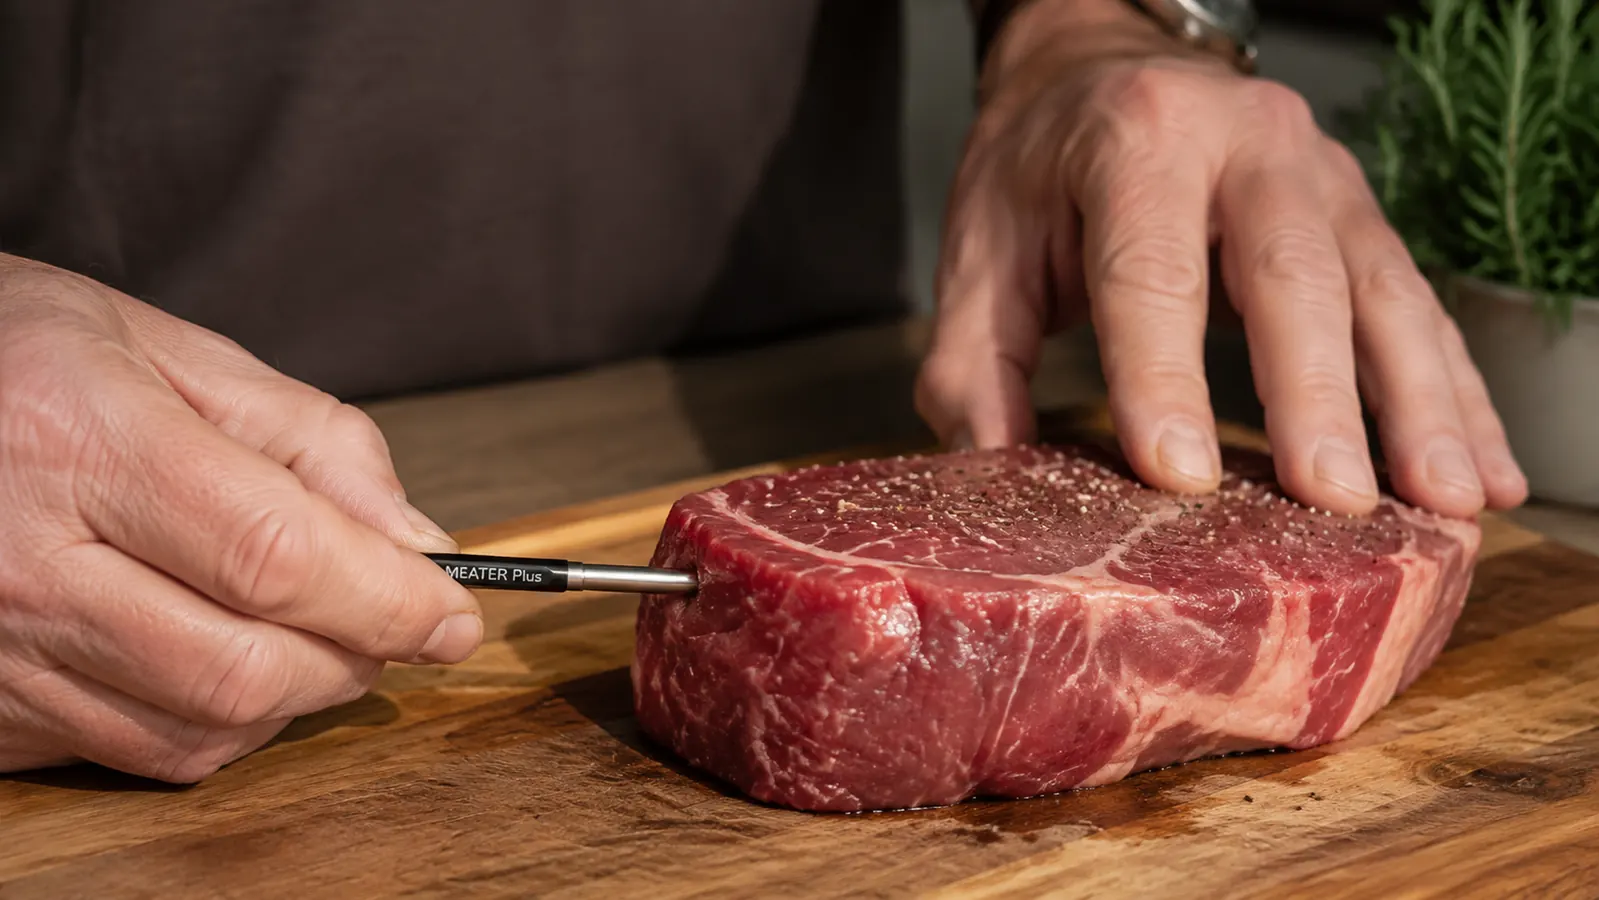
Probe placement is where most people, including me for a long time, get a wireless thermometer reading that lies to them. The tip needs to sit in the thickest part of the meat, the coolest point that takes longest to come up to temp. If you're near a bone, you'll get a falsely high reading because bone conducts heat faster than muscle. If you're in a thick pocket of fat, you'll get a reading that lags behind the actual meat temperature.
On a chicken breast I aim for dead center, pushed in from the thickest end at a slight angle so the tip lands in the middle, not poking out the other side. On a whole chicken it goes into the thickest part of the breast, away from the ribs. On a pork shoulder or brisket, I push it into the flat, thickest muscle section, well clear of the bone if there is one. Take the extra fifteen seconds to find the right spot. A perfectly good thermometer reading a bad spot is worse than no thermometer at all, because it gives you false confidence.
One habit that's saved me more than once, especially with an odd-shaped cut like a flank steak or a spatchcocked bird, is glancing at the reading about five minutes after I insert the probe. If the number jumps unusually fast right out of the gate, that's usually a sign the tip drifted toward a thinner edge or too close to the grate, and I'll pull it and reset the placement before I trust the rest of the cook to it.
Step 3: Trust the Ambient Probe for Your Cooking Chamber Temp Too
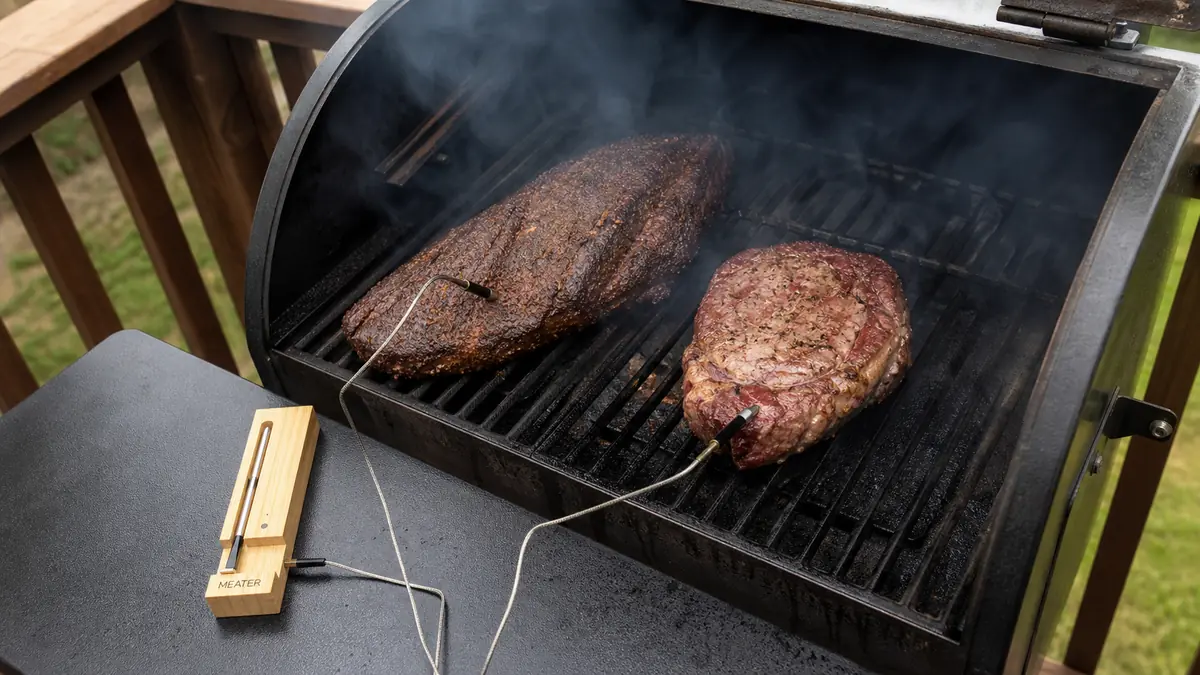
One thing that took me a season to actually use correctly is that the MEATER Plus doesn't just read the internal meat temp, the base of the probe reads the ambient temperature around the meat too. That's a second data point most guys ignore. I use it to confirm my Pit Boss is actually holding the grate temp I set it to, or to see how hot my Weber kettle is running near the meat once I've banked the coals to one side for indirect heat.
This matters because a grill thermometer built into the lid can be off by 20 to 30 degrees from what's happening right at grate level where your food actually sits. I've caught my kettle running a lot hotter near the meat than the lid dome thermometer suggested more than once, especially on windy days here in Kansas City when the fire gets extra air on one side. Catching that early means I can adjust vents before the outside of a chicken thigh scorches while the inside is still working its way up.
On the pellet grill this second reading is more of a confirmation than a correction, since the Pit Boss holds its set temp pretty tightly on its own. But on the kettle, where I'm managing airflow by hand, having a real number at grate level instead of guessing from the lid thermometer has saved more than a few cooks from running too hot without me noticing until the outside was already dark.
Step 4: Walk Away and Let the App Watch the Cook
This is the step that actually changed how I spend a Saturday. With a wired probe thermometer, I was tethered close to the grill because the receiver had a limited range and I didn't trust it past thirty feet. The MEATER Plus uses Bluetooth to a small booster unit that then relays over WiFi if you set it up that way, so I can be inside watching a ballgame with Eli, my grandson, and still get a push notification on my phone when the chicken hits 150°F with fifteen degrees to go.
I set the app to alert me at roughly ten to fifteen degrees before my target pull temp, not right at it. That gives me time to walk back out, get my tongs and platter ready, and be standing at the grill when the meat actually hits temp instead of scrambling after the alert already went off. Ten minutes of freedom per cook doesn't sound like much until you add it up over a whole grilling season.
The app also logs the full temperature curve for every cook, which sounds like a small thing until you've done it a few times. I've gone back and looked at a graph from a pork shoulder that stalled for two hours at 165°F, and just seeing that curve on my phone kept me from panicking and cranking the heat, which would have dried the whole thing out.
Step 5: Pull for Carryover, Not for the Final Number
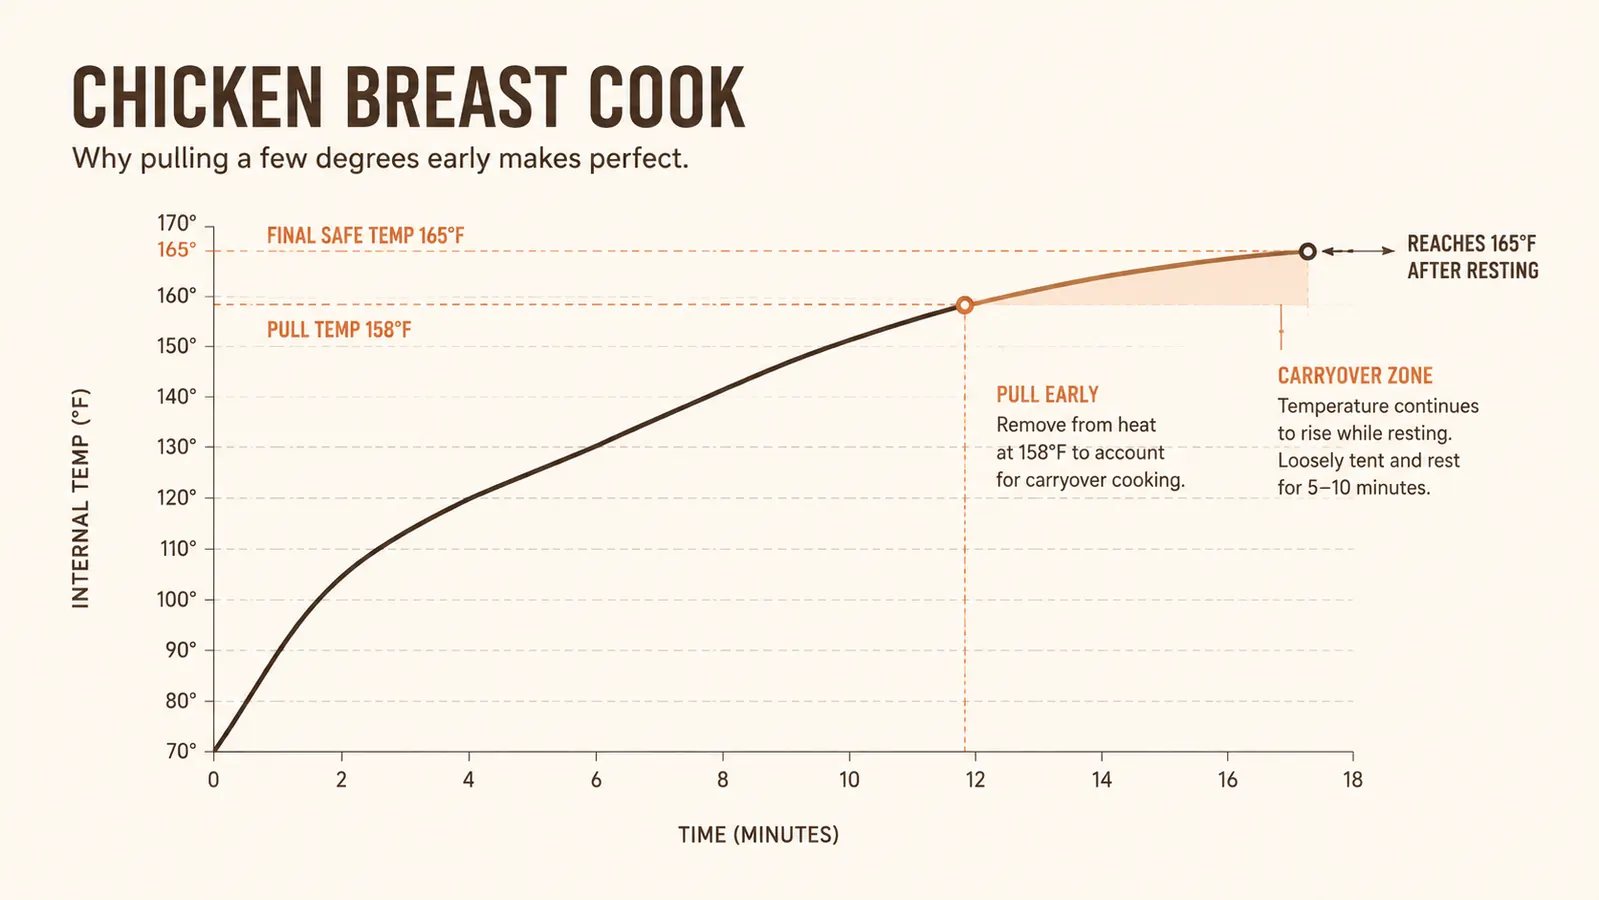
Here's the part that trips up almost everybody new to using a wireless thermometer correctly, including me for the first month I owned one. Meat keeps cooking after it comes off the heat. That's called carryover, and depending on the thickness of the cut and how hot your grill was running, it can add anywhere from five to fifteen more degrees before the meat's internal temp peaks and starts coming back down.
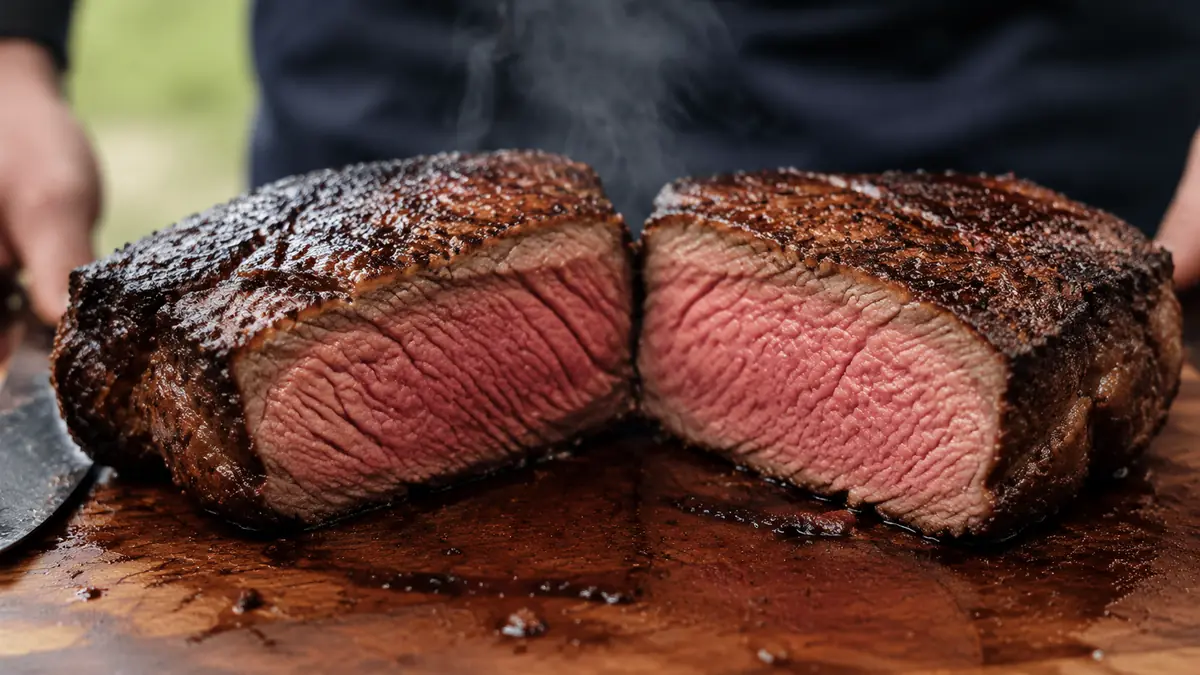
So if my target for a thick ribeye is 130°F for medium-rare, I actually pull it around 122 to 125°F and let it rest under loose foil for five to ten minutes. The MEATER app has a carryover feature built in that estimates this for you and will tell you when to pull based on your final target, which takes the math off your plate. For a pork shoulder heading to 203°F, carryover matters less relative to the total cook, but for steaks and chicken breasts, ignoring it is exactly how you end up with meat that's ten degrees past where you wanted it.
I learned this one the hard way with a batch of chicken breasts I pulled right at 165°F thinking I'd nailed it, only to check them again after resting and find they'd carried up past 175°F, well into dry territory. Now I pull chicken breasts around 157 to 160°F and let carryover finish the job, and I haven't served a dry one since.
The meat doesn't stop cooking when it leaves the grill. Pull for where you want it to land, not where it already is.
What Else Helps
A wireless thermometer solves the biggest part of the doneness puzzle, but a couple of habits around it make the whole system better. I always rest meat under loose foil, never tight, so steam doesn't turn a good sear soggy. I keep a cheap instant-read thermometer in the drawer as a backup for spot-checking a second cut or confirming a reading if something ever seems off, though in three seasons of using the MEATER Plus I've only reached for it a handful of times.
When I'm cooking two things at once, say chicken thighs and a rack of ribs, I run the second probe if I have one rather than trying to time two cuts by memory. Multi-probe monitoring is really where a wireless setup earns its keep over a single wired unit, because you get real data on every piece of meat on the grate, not just the one you happened to check. And I always let a fresh probe charge fully in its case before a big cookout. Nothing kills the whole method faster than a dead battery halfway through a brisket.
None of this replaces good judgment at the grill, knowing your fire, knowing your cuts, keeping an eye on color and char. What it does is take the one part of grilling that's always been a coin flip, whether the inside is actually done the way you meant it to be, and turns it into something you know for certain before you ever set the platter on the table.
Get the wireless thermometer that made this whole method possible
Every step above depends on having a probe that's actually accurate and an app that tracks carryover for you. That's why the MEATER Plus stays in my grill bag, season after season, cut after cut.
Amazon Check Today's Price on Amazon →